Introduction to Cricut Maker 3
This article will take you step by step through the process of using the Cricut Maker 3 and share my experience.
The Cricut Maker 3 is a cutting machine designed for crafters and DIY enthusiasts. It allows you to cut various materials, including paper, vinyl, fabric, and more, to create a wide range of projects like custom cards, stickers, and textile designs.
I used it to cut my own stickers, and here is the step-by-step guide:
Step 1: Download Application
- Download and install the Cricut Design Space from
Cricut
Step 2: Design or download image
- Compatible file types are:
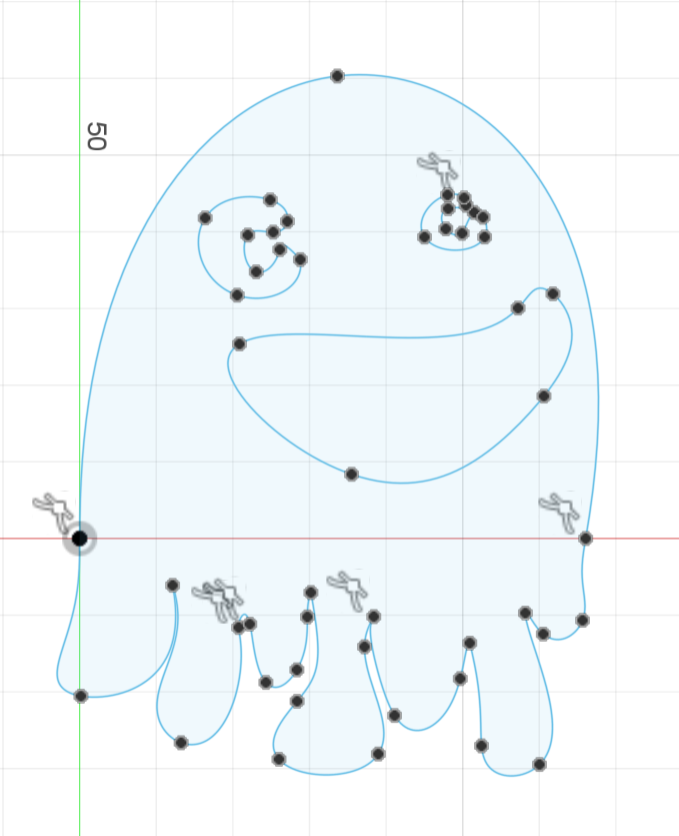
.jpg,.gif,.png,.heic,.bmp,.svg, or.dxf - I used Fusion 360 to design my sticker and exported the sketch as a vector file
.svg
Step 3: Getting the machine ready
- Place the Cricut on a table with enough room in front and behind for the material to go through the machine
- Connect the Cricut to your PC
- Place your chosen material on the cutting mat
- Use the reference numbers in the Cricut Design Space to optimize your material placement
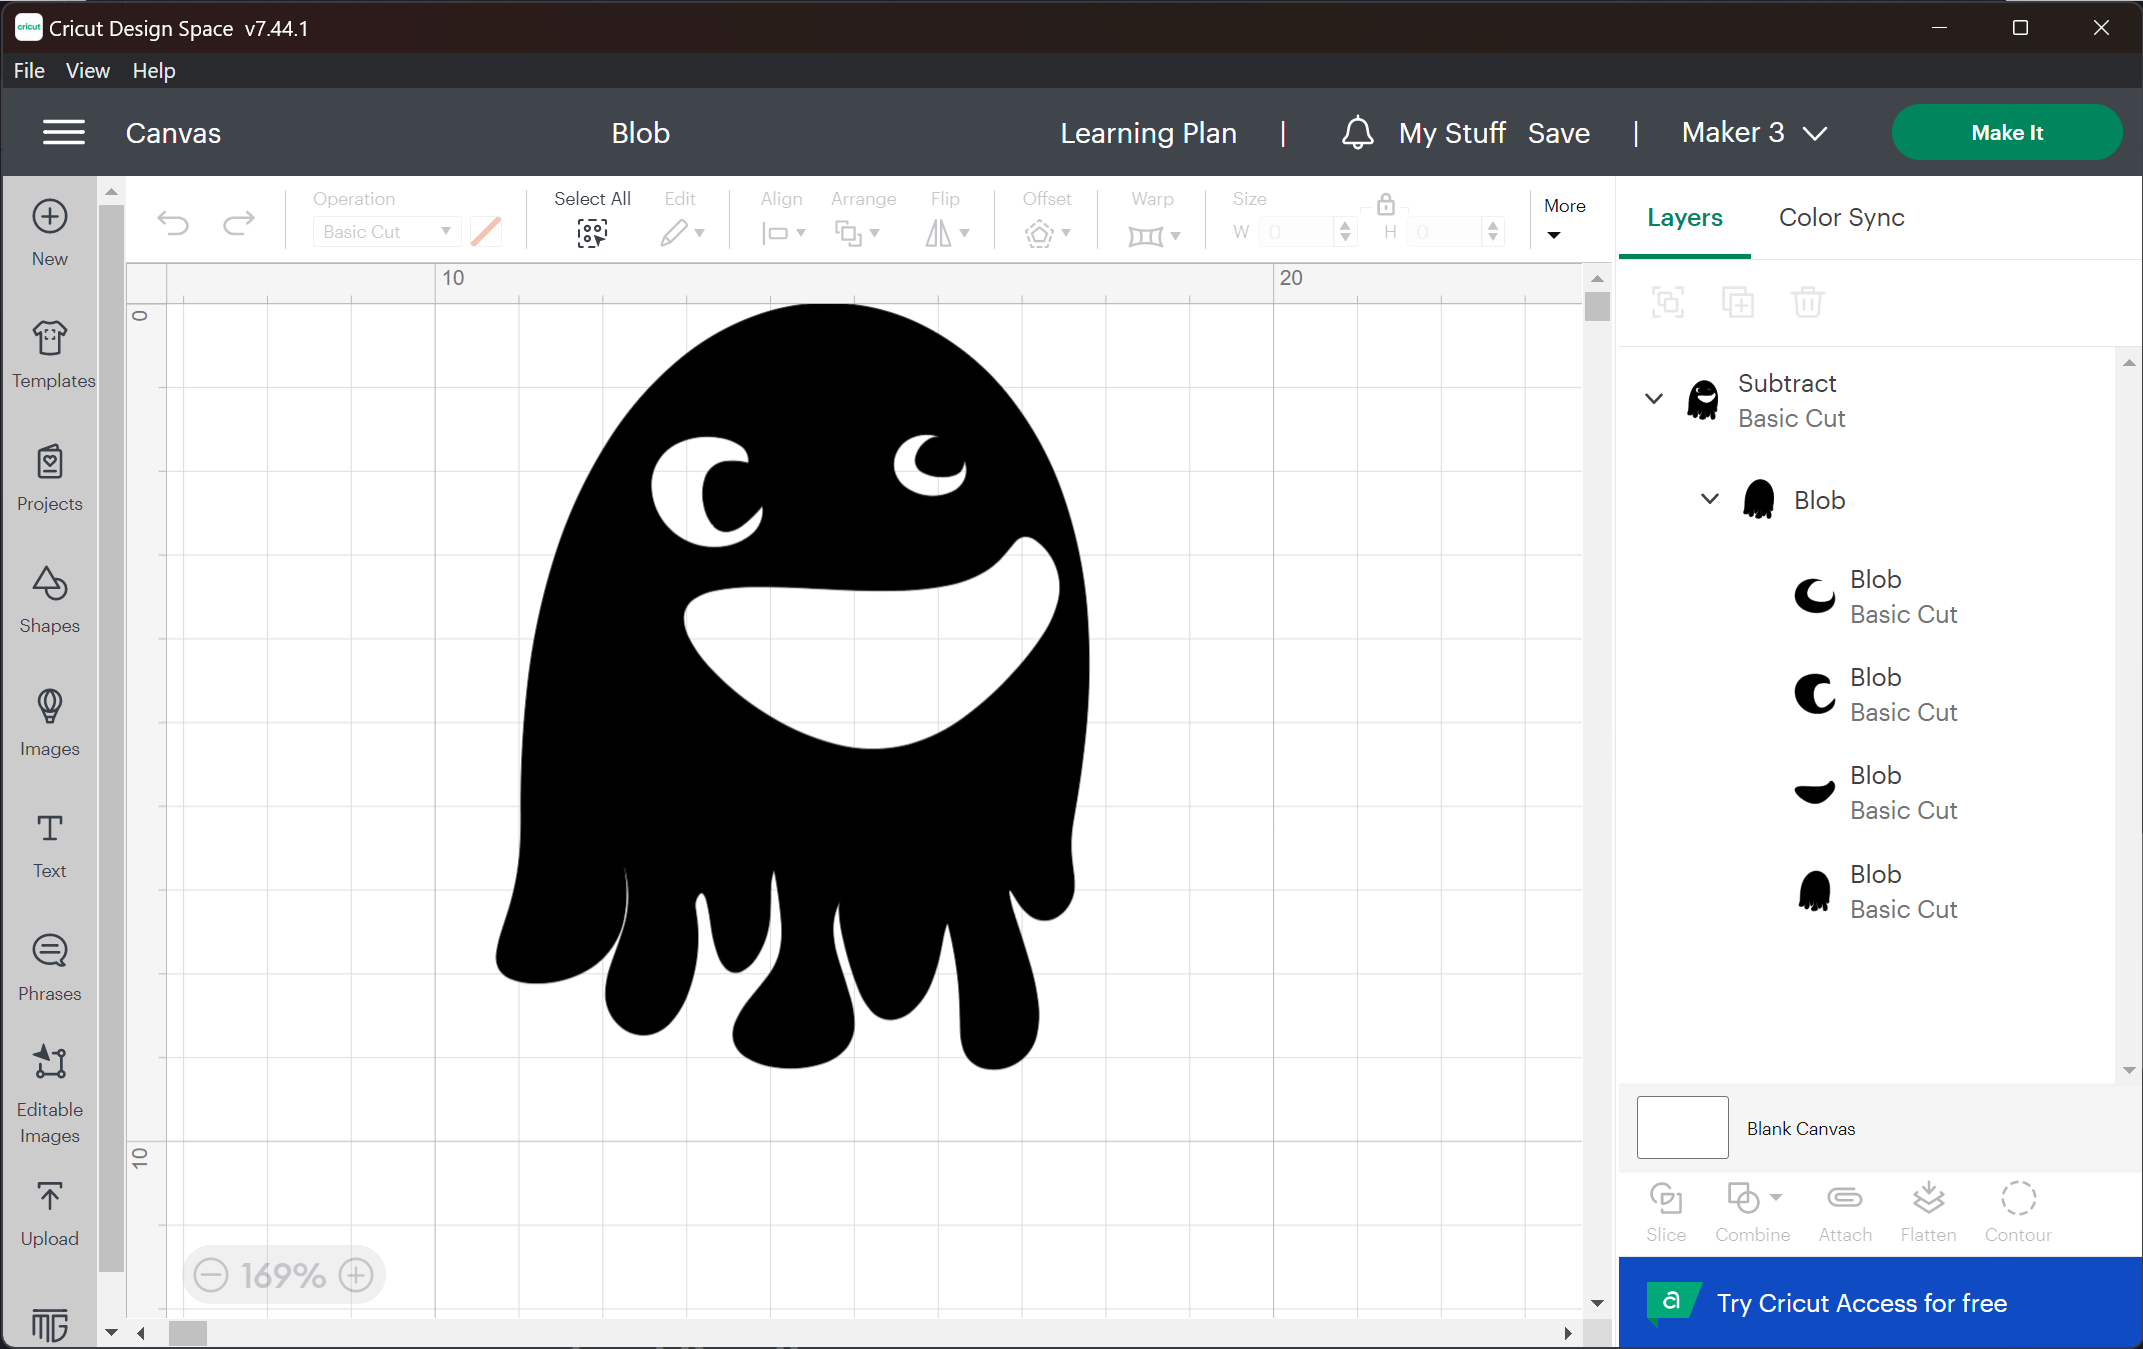
Step 4: Open Cricut Design Space
- Create an account
- Connect your machine
- Start a new project with the green button in the top right corner
- Upload your file
- Add the file to the canvas
- Position the file correctly using the reference numbers
- If your file contains multiple objects, you can select the object and choose one of these interactions: Weld, Unite, Subtract, Intersect or Exclude
Step 5: Insert material into the Cricut
- Press the arrows (< >) twice; this will take some time to home
- Press the start button
Final Result

- To bring the cutting mat back out, press the arrows again
- Now you are ready to peel off the sticker or cut it out to use later